Showing posts with label Buttermilk. Show all posts

Sunday, September 23, 2012

Sourdough Waffles: The King is Back

Andy and I make a batch of sourdough waffles or sourdough pancakes once a week from our NYC grown, Northampton transplanted sourdough starter.  We do this partially for starter care, to keep it in regular use by supplementing bread baking with breakfast foods, and partially because we are addicted to decadent and hearty breakfasts.

Here's what happened this morning...  Andy got out of bed before me (this almost never happens) and was antsy to whip up a waffle batter.  Since the usual sourdough waffle or pancake recipe comes straight from my head and my head was still half dreaming I told him to try the Sourdough Waffle recipe in King Arthur Flour Baker's Companion** as a jumping off point.

So now, the Pumpkin Queen has been reunited with The King (Arthur) on the UYS.

Andy didn't get too adventurous in his adaptation, only halving their recipe all except for the eggs.  The boy likes eggy waffles.

Sourdough Waffles
Adapted from King Arthur Flour Baker's Companion
Yields about 8 round seven-inch waffles

Sponge
1/2 cup all purpose flour
1/2 cup white whole wheat flour
1 tablespoon sugar
1 cup buttermilk (we used powdered buttermilk/water)
1/2 cup sourdough starter

Batter
2 large eggs
1/4 stick butter, unsalted and melted
1/4 teaspoon salt
1/2 teaspoon baking soda

Combine all the ingredients for the sponge and let it sit for as little as 5 minutes and as long as 8 hours.
Beat together the eggs, butter salt and baking soda.
Blend the batter mixture into the sponge.
Know your waffle iron and spray or butter it for the first waffle if it tends to get grabby.
Last nights homemade whipped cream (that topped KAF's Classic Pumpkin Pie)
turned into whipped butter this morning
Notes and Variations:
So, the waffle batter I typically throw together is a bit thicker than this one, my liquid to flour ratio is closer to the one we use for pancakes.  I noticed that with this thinner batter there is a fine line to walk in terms of filling the waffle iron.  It's a line well worth walking because the waffles turn out so perfect once you figure out exactly how much batter to add.  Just be aware, overfill and you get spill over, under fill and you get hole-y waffles.
Exhibit A
What I really love about this recipe, besides that is makes delicious, light waffles, is that you can let the sponge sit overnight if you've planned ahead for waffles, or "for whatever shorter time span is practical."  That's a big deal.

Some variations I plan to try in the future are supplementing a tablespoon of applesauce for half the butter and adding some ground flaxseed to the sponge.  And clearly I'm nuts for lots of fruit and nut combos.

I'm wa-full,
Sarah

**This book is one of the best gifts I've ever received.  I am so lucky to have great cousins to gift it to me.  Thanks!  If it's not on your bookshelf already I recommend you put it on your birthday/holiday wish lists and wedding registries ASAP.

Sunday, May 8, 2011

Sourdough Pancakes III

On my long weekends of yoga school there is no breakfast quite as filling and delicious as Sourdough Pancakes.  I have been using (and tweeking) the same day recipe that I made last April.

I am not going to re-type the recipe here (just follow the link) but here are some more specifics I have learned from making these pancakes many times:

  • Consistency of starter: The starter can be fed just before making these pancakes with the appropriate amount of water-to-flour ratio so that the batch looks like thick pancake batter.  I wish I had a more scientific measurement technique for you at this point.  If you are familiar with pancakes, this should be simple.  Just go with your gut instinct.
  • Yield: Depending on the hydration of your starter you'll get between 9-12 pancakes 3 inch in diameter pancakes.  I'd guesstimate that I use 1/8 of a cup of batter for each pancake.  Again, nothing too technical. 
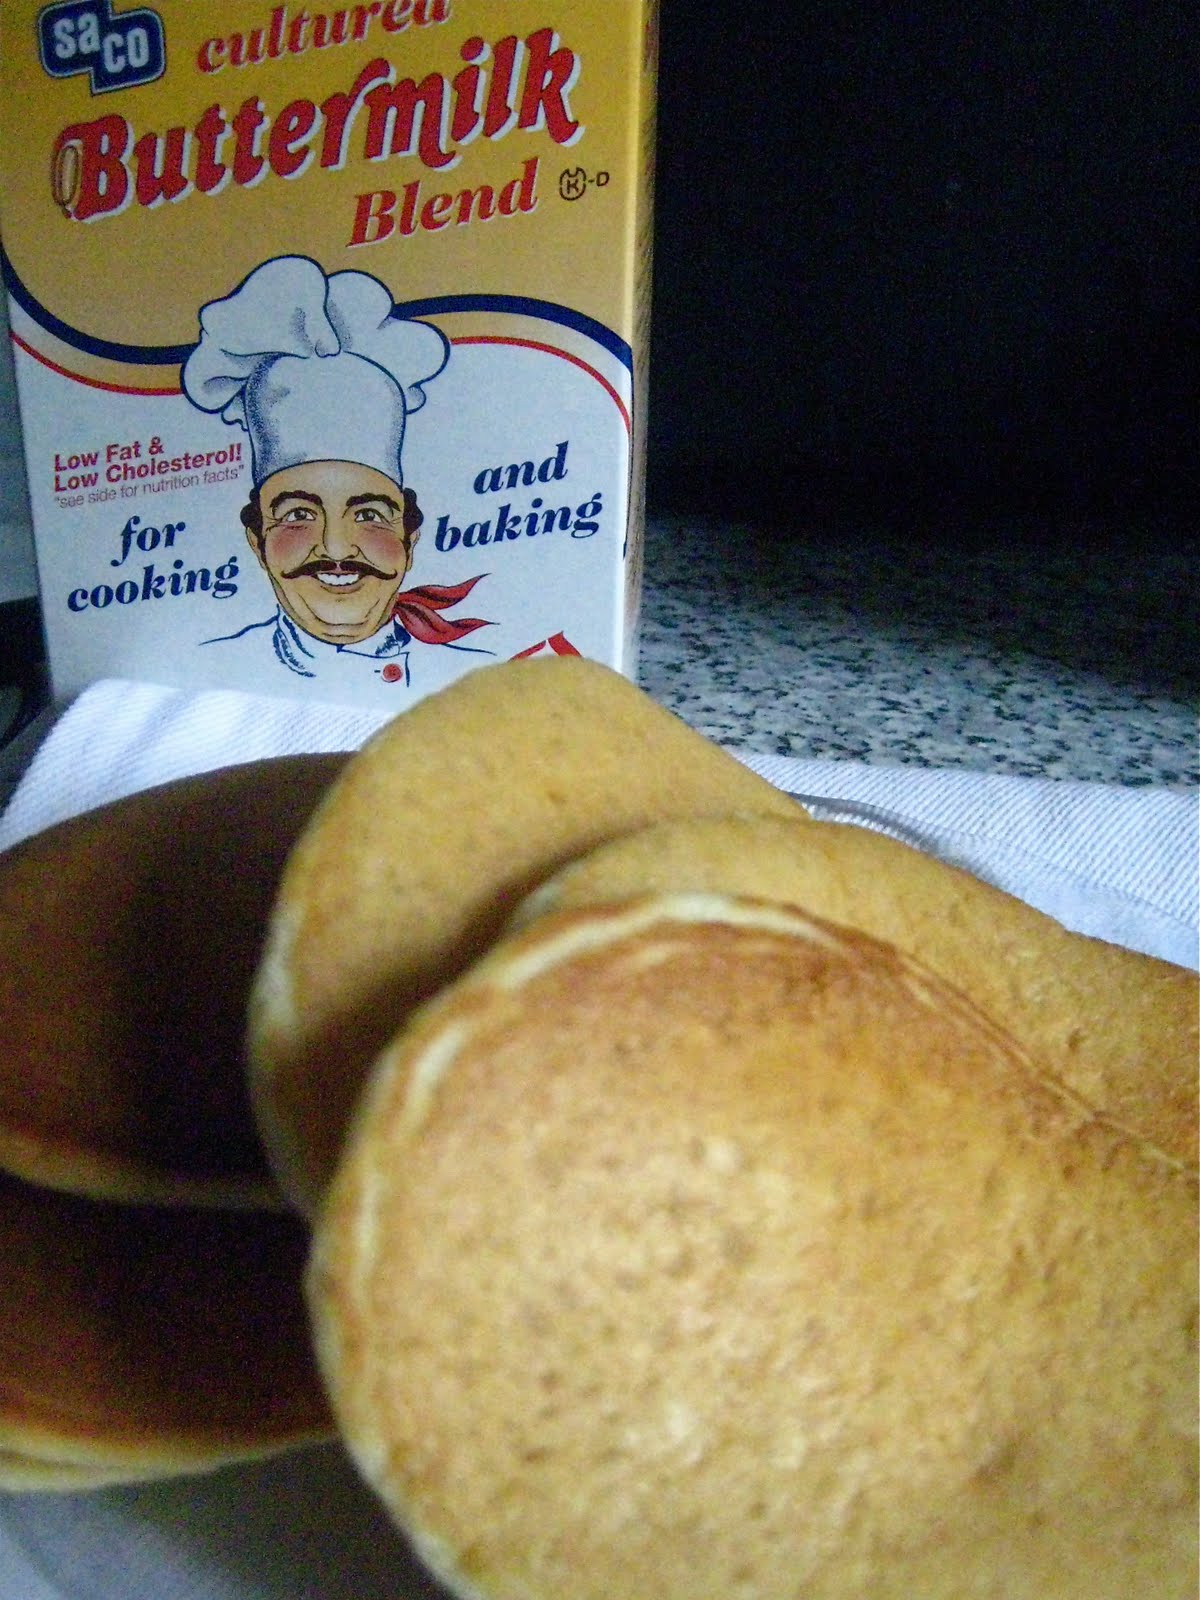
  • Buttermilk: One morning, because I am more of a mad scientist than a baker, I threw in a tablespoon of SACO Cultured Buttermilk.  It's basically powdered buttermilk.  It made the whole batter bubble and bubble and the pancakes were so airy they were practically transparent!  Since then I have been using 1/2 a tablespoon in the recipe and it gives the pancakes a light, fluffiness while maintaining their opacity.

Happy Mother's Day,
Sarah

Saturday, May 15, 2010

Buttermilk French Toast on Challah


Holla!  French Toast!

Buttermilk Challah French Toast
Yields 9 slices French Toast

9 1/2 to 1 inch slices of Challah Bread 
6 eggs
1 cup buttermilk
1 teaspoon vanilla extract
1 heaping tablespoon orange zest
Pinch of cloves
1/2 teaspoon of cinnamon

First slice up the bread in about 1/2 inch slices


Whisk together all ingredients either in a low, flat pyrex, or transfer the liquid to something that you can fit slices in to soak.
Let them soak for up to 5 minutes.
Cook over a medium-low flame.


If you don't have a griddle, like us, you can turn the oven on really low and keep the slices warm until they are all cooked.  They like to be cozy in a pig pile of French Toast.


Top with Strawberry-Orange syrup, fresh fruit, and a drizzle of maple syrup and brunch is ready!


Strawberry-Orange Syrup

2 tablespoons fresh squeezed orange juice
1 tablespoon maple syrup
3/4 cup cut strawberries

Put it all in a pot and cook until it looks like mush.  


- Sarah

Tuesday, May 11, 2010

Sourdough Drop Biscuits with Vegetarian Chili

This week I didn't know if we would use or discard the sourdough starter for it's weekly feeding.. until I found a recipe for Sourdough Biscuits that takes only 10 minutes prep time and about 15 minute in the oven!  To go along with the biscuits we made an original vegetarian chili.

I am not a vegetarian because I love animals.  I am a vegetarian because I hate vegetables.

Vegetarian Chili
Yields approximately 5-6 servings
Cook time 1 hour

Ingredients*
2 tablespoons vegetable oil
1 can of diced tomatoes, unsalted
1 can kidney beans
1 can black beans
1 zucchini
1 yellow squash
some corn
1 yellow onion
2 cloves garlic
2 carrots
3 stalks celery
1 red pepper
1 bunch scallions
greek yogurt
paprika
chili powder
cinnamon
cloves
dried jalapeños
cayenne pepper
cumin
maple syrup
salt

*Ingredients are flexible.  Use your favorite vegetables and beans.  Without the greek yogurt this recipe could be vegan.  I wouldn't understand not using some dairy.  And as you'll see, I didn't include measurements for the spices.  The most significant spice is the chili powder but other than that, it's to taste.  I wouldn't go too heavy on cloves.  Godspeed.

Start with 2 tablespoons vegetable oil and saute the garlic and onions until translucent.  Then, add carrots and celery for a couple minutes.  Then add the zucchini, squash and red pepper and saute for a couple more minutes.    Add the can of tomatoes, corn (drained if it's canned), and beans - one can drained, one can with all the juice.  Add the spices.  An idea of our spice ratios is: 2 tablespoons chili powder, 2 tablespoons maple syrup 1 1/2 teaspoons cumin, 1 teaspoon salt, 1/2 teaspoons cayenne, 1/2 teaspoon cinnamon, 1/4 teaspoon cloves, 1/4 teaspoon dried jalapeños, dash of paprika.
Simmer for 30 - 45 minutes depending on how hungry you are and how homogenous you want your chili.  If you are antsy to get eating more homogenizing will happen in the fridge overnight.  Your leftovers will always be more stewed.  

Top with greek yogurt and scallions and serve along side a warm Sourdough Biscuit.  These biscuits are superb with the chili -- the garlic and cheddar is delicious on its own and the flavors compliment the spicy veggies.  Plus they are quick and easy to boot!

Sourdough Drop Biscuits with Garlic and Cheddar Cheese Adapted from this Tasty Kitchen recipe
Yields millions of biscuits
Cook time 25 minutes

2 cups unbleached all purpose flour
1 tablespoons baking powder
1/2 teaspoon baking soda
3/4 teaspoon salt
1 teaspoon sugar
1 heaping teaspoon minced garlic
8 tablespoons butter (cold but smooshable)
1 1/2 cup shredded cheddar cheese
1 1/4 cup sourdough starter
1/2 cup buttermilk

Preheat oven to 350°F.
Blend flour, salt, sugar, baking powder, baking soda, garlic.  
Smoosh in butter with a fork (or a pastry cutter if you have it)
Stir in cheese (reserve some for the tops if you want a cheese-y topped biscuits)
In a separate bowl, combine starter and buttermilk
Add the buttermilk-starter mixture to the other ingredients.  Stir until it's obvious that you need to incorporate with your hands.  
Scoop rounded tablespoons onto parchment paper lined cookie sheets.  Adding extra cheese to the tops of biscuits now if it suits you.  Also optional, brush the tops with melted butter.
Bake for 12-15 minutes until the tops are a pale golden brown.


Chi-chi-chi le-le-le VIVA CHILE

Monday, April 12, 2010

Nobody's Perfect Homemade Breadcrumbs and Three Cheese Macaroni with Broccoli

I love raisins.  Somebody along the line taught me that raisins are candy.  I suspect it's the same person who taught me sweet potatoes are ice cream.  

I mention raisins not only because I adore them but also because I baked the Dark Pumpernickel with Raisins from Bread Alone this past weekend.  The recipe called for 2 cups of the little sundried grapes!  And the longest part of the whole process (aside from having established starter) is the 8 hours prior to any dough mixing/kneading that you need to soak the raisins!  The best part is that the recipe calls for 1 cup of said raisin-soaking water AND a cup of strong coffee.  Andy is a perfect combination of hilarious and disgusting and so he said this to me as I read him the recipe, "Skip the middle man and just dump it down the toilet!"

Everything was lined up for this bread to be awesome.  So awesome, in fact, that I didn't bother halving the huge recipe.  Look at all of the loaves I yielded:

Note the two different colors happening...


The color disparities are not the least of the problems with this bread.  The color is actually quite interesting.  What happened is I baked two long loaves on a cookie sheet, uncovered and the boule in the dutch oven, covered.  So, in the future I know to get a deeper color to leave the bread covered.  Valuable lesson learned.  What's not so desirable about these loaves is the density.  The sourdough starter I used had thawed from the freezer.  I let it warm up in the refrigerator for 48 hours, stirring when I could.  I saw that it smelled and appeared active to I used it in the recipe.  Unfortunately, I think it was too tired to give the bread any lift.  Another lesson learned, don't debut starter that has been frozen for weeks until you discard and feed it AT LEAST once.  That being said, these loaves taste delicious and I am going to try this recipe again without a doubt once my starter is more eager.

In slightly older news, I ruined the Multigrain Bread with Sunflower Seeds that Lil baked once before.  Slowing that bread down in the fridge didn't work so hot and we wanted to try it again to get a better rise.  Lil and I were both busy bees so we tag-teamed this bread.  It starts as a sponge and then you add more ingredients and it becomes a dough, basically.  
The recipe unintentionally adapted from Vegetarian Cooking for Everyone by Deborah Madison
1 cup uncooked multigrain cereal (we use Bob's Red Mill)
1 1/2 cups hot water
1 cup buttermilk (or faux buttermilk = milk + white vinegar)
2 1/4 teaspoons (1 envelope) active dry yeast
2 tablespoons honey or malt syrup
1 cup whole wheat flour
2 1/2 teaspoons salt
2 tablespoons olive oil
3/4 cup sunflower seeds
4 cups whole wheat flour

See that part where it says 2 1/2 teaspoons?  Well, I didn't.  I read tablespoons and threw them in before rushing off to yoga.  Is rushing to yoga counterproductive?  

Anyways, the bread came out VERY saltly.  We turned it into breadcrumbs.  You can make breadcrumbs with any type of bread.  I'd recommend a basic bread -- more of a whole wheat or multigrain instead of a dark raisin pumpernickel, for example.  Breadcrumbs are a practical alternative for dry on-the-way-to-stale bread.  Plus, you can use them to enhance many dishes i.e. macaroni and cheese!

How to Make Homemade Breadcrumbs
1. Slice bread.
2. Lay out in a single layer on a cookie sheet.
3. Toast in a 300°F for about 10 - 15 minutes.
4. Tear dried bread into smaller pieces and blend in your food processor.  Or, if you are us and do not own a food processor, get chopping!  Either way, leave them coarse so that you have the option to go finer.  
Store in the freezer!

Sarah Style Three-cheese Macaroni with Broccoli 
This is Sarah Style because it was impromptu and there are a million different variations.

You need: 
pasta (I use 100% Whole Wheat chiocciole from bionaturae)
cheese (I have a personal bias toward Cabot)
butter (unsalted)
milk  (2%)
all-purpose flour (unbleached)
vegetable (I had broccoli in the fridge)
and breadcrumbs.

You whip it up like this:
Cook the pasta al dente and blanche your vegetable (like I mentioned, I used broccoli, but cauliflower, peas, or a combo would work here).
While the pasta cooks, melt a tablespoon of butter.  Add about a half cup of milk and a teaspoon of flour.  Then, add LOTS of cheese.  Cheddar doesn't melt all that great, but it tastes good.  If you use it I recommend pairing it with a cheese that melts better.  I used Cabot's Horseradish cheese.  Sounds weird, and it kind of is but it's good in mac and cheese.  
Pour it all (vegetable, pasta, cheese sauce) together in a casserole dish.  
Top with breadcrumbs and loads of parmesan cheese.
Bake at 350°F for about 30 minutes.


Mac and cheese is the ultimate comfort food so I figure it goes well with the dense black bread and the over-salted multigrain turned to breadcrumbs mistake post.

Nobody's perfect.  Except raisins.
- Sarah

P.S. Youtube "nobody's perfect doglover199709" if you need a pick me up and don't have time to make macaroni.  

Tuesday, March 23, 2010

Luck of the Irish Soda Bread Buns

"I want another piece!"
"I love Irish Bread!"
"It's still warm. It tastes warm and yummy warm!"


The critics agree, Irish Soda Bread is awesome! Now, I am sure you are wondering who these tough critics are.. So I'll tell you: they are the four-year-olds in my UWS nursery school classroom.

As picky eaters go, nursery school children top the charts. In this infamously picky crowd, it is almost unbelievable that every child present in school today ate (devoured) their portion of Irish Soda Bread. Not all, but most, requested more. This cooking project supports my belief that if you allow children the opportunity to take part in cooking and food prep they are more apt to try (and love) foods.

With all of this bread baking in our UES apartment I have been looking for an opportunity to bring it crosstown into my classroom. I feel that cooking is great for kids and that bread especially is therapeutic -- the kneading is a perfect outlet for movement.. and in a productive way! So, as Saint Patrick's Day approached I planned to make Irish Soda Bread with the classroom.

Children "folding and smooshing" aka kneading:


I modeled kneading and asked them to describe what I was doing. I threw in the word "kneading" and gave equal (if not more) emphasis to "fold and smoosh." Some children wanted to shape their dough "like playdough" which is perfect. They played and kneaded for about 5-10 minutes and rolled the dough into a ball as they were ready to put it onto the baking sheet.


A soda bread is a term that encompasses a everything from your basic baking soda-flour-salt bread to a sweeter, raisin-filled, more dessert-like soda "bread" (in quotes because it may be more cake-like than bread). American's are more familiar with the cake-style and the Irish are more familiar with the basic, bread. It is a quick bread which means there is less wait time because the recipe doesn't call for any yeast -- the rising agent is the baking soda.

Luck of the Irish Dairy Bread Buns (adapted from The King Arthur Flour Baker's Companion)
(Printable Recipe)

4 cups all-purpose flour
1 teaspoon salt
3/4 teaspoon baking soda
1 tablespoon butter at room temperature
1 1/2 cups buttermilk


  1. Preheat oven to 375°F.
  2. Combine dry ingredients. Blend thoroughly making sure to press out any lumps in baking soda.
  3. Add butter.
  4. Use fingers to rub in butter.
  5. Make a well in the center.
  6. Count to 20 while slowly pouring in buttermilk.
  7. Stir gently.
  8. Turn out dough onto a lightly floured surface and knead until dough comes together.
  9. Divide into 6-8 equally sized pieces.
  10. Knead and shape individually.
  11. Bake for about 20-30 minutes** until golden brown.
  12. Let cool and finally, ENJOY!

**If you bake this as a whole loaf of bread you'll need to adjust the cooking time to be longer, about 40 minutes.

I will spare you most of the teachable moments this recipe provides.. counting to 20, digging the well, etc. I could go on and on. Lil can testify. I would like to note the fourth step, using fingers to rub the butter into the flour. It was a fantastic tactile experience for the children with the exception of one child who had a sensory hesitation so I invited him use a spoon. Even he participated in the kneading. Both kneading and stirring with the hands provided awesome, joyful learning experiences.

Happy belated Saint Patrick's Day!
- Sarah

Tuesday, February 23, 2010

Banana Sourdough Pancakes


Alternate Post Titles:

"When turning a ruined loaf into breadcrumbs isn't enough: How to make up for your over-salting of the would-have-been awesome multigrain bread to your best-friend/roommate"


OR

"Another suggestion of what to do with your sourdough starter instead of throwing it out: The sequel to Sourdough Pizza"


Banana Sourdough Pancakes seems more succinct.


Before I get into the pancakes, here are some things I have learned about caring for your sourdough starter in the refrigerator...
  • Stir daily.
  • Feed once weekly -- 8 oz warm water and 8 oz unbleached all-purpose flour if you have a kitchen scale. By volume, about 1 cup water to 2 cups flour.
  • Allow your starter to work for at least 2 hours after each weekly feeding before popping it back into the fridge.
  • Be patient. Every week this starter smells increasingly "winey" and produces a more "sour" dough.

Here's the little lactobacillus after it's weekly feeding...
...but before mixing and resting out of the fridge.

Now for the Banana Sourdough pancakes. For the whole recipe you need: flour (whole wheat and all-purpose), starter, water, sugar, baking soda, salt, buttermilk (or milk+vinegar), and banana. It takes about 15 minutes in the morning but you need to start the sponge the night before.


Start by making this sponge the night before:
1/2 cup starter straight from the fridge
1/2 cup whole wheat flour
1/2 cup unbleached all purpose flour
1 cup buttermilk (I used milk with a 1/2 tsp of white vinegar because we didn't have buttermilk around)
1 tablespoon sugar
The batter should be thick
Let it sleep overnight in the fridge while you dream about Sourdough Pancakes.


In the morning, add:
1 large egg
2 tablespoons applesauce**
1/2 teaspoon salt
1/2 teaspoon baking soda

**You can use butter or vegetable oil in place of the applesauce. If you use applesauce, make sure to butter (unsalted) or spray your griddle with a nonstick spray.

Mix all the ingredients together. Then, chop up a banana right into the batter. Fold it in gently.

Mind blowing fact (don't think about this while you are chopping because you might cut off a finger): BANANAS ARE THE WORLDS LARGEST HERB. This has to do with the fact that the banana "tree" is technically regarded as an herbaceous plant, not a tree, since the stem isn't wood. The yellow thing you love, peel, and eat is undoubtedly a fruit containing seeds (i.e. tomato) but commercially grown banana plants are sterile so the seeds are reduced to little black specks.

That being said, adding banana is totally optional. I used one banana for this batch but could have gone much heavier on it. My ideal pancake is 51% fruit. I exercised restraint only because I wanted to taste the sourdough pancake on it's own. In my opinion, adding fruit (or herbs, in this case) to pancakes exponentially increases their deliciousness. If I was feeling really sweet I would have added some chocolate chips too.

When adding fruit to pancakes you have to ask yourself the age old question: To stir into the batter or to drop onto the half cooked griddlecake? Personally, I go back and forth. I waffle, if you will. Sometimes I stir the fruit into my batter and other times I drop it on top. Depends on my mood and whether or not everybody in my pancake eating party wants fruit. Sometimes (especially if I am dropping bananas or larger sliced strawberries on top) I put small drops of batter on top of each banana slice exposed -- by doing that I have found that post-flip the fruity-sugars don't burn onto the pan before the cake is cooked.


Unspoken Perfect Pancake Rule: ONLY FLIP ONCE. Cook your pancakes on a low-medium heat until they are full of those bubbles. Having your griddle at the right temperature is crucial. I check if the griddle is hot by letting a drop of water fall onto the pan. If it sizzles I know my surface is warm enough. I like them to be lightly golden around the edges before I go in for the big flip.

Serve with a cup of Hot Cinnamon Spice Harney Tea


If you are too financially unstable for real Vermont Maple Syrup (no shame) these were awesome with cinnamon-sugar.

This recipe yields four, fluffy Sourdough Pancakes that were about 6 inches in diameter (bigger than my face). Lily and I had to take a break between pancakes in order to finish them. It was a royal way to start a Tuesday.

I adapted this recipe from several that I had read but mostly this King Arthur Flour Waffle recipe. You could definitely use this Pancake recipe in your waffle iron. Try it! And let us know how it goes.

Happy Tuesday!
-Sar

P.S. As for the bread mishap that turned into a bread crumb project-- look for a post from Lil on that in the near future.